Anyone serious about power tool work quickly realizes that battery management is half the battle. A dead battery mid-project isn’t just inconvenient, it kills momentum and wastes time. That’s where a dedicated battery charging station comes in. Instead of hunting for individual chargers scattered across the garage or waiting for one tool to finish before charging another, a centralized charging station keeps batteries organized, charged, and ready when needed. This guide walks through what to look for in a station, how to set one up efficiently, and maintenance practices that keep batteries performing longer.
Table of Contents
ToggleKey Takeaways
- A dedicated battery charging station consolidates multiple tool batteries into one organized hub, eliminating the need to hunt for scattered chargers and keeping momentum on projects.
- Fast-charge capability (30–60 minutes for 18V lithium batteries) and safety features like temperature sensors and overcharge protection are critical factors when selecting a charging station.
- Proper location near your work area with stable temperature control (50–70°F for lithium batteries) and adequate electrical circuits ensures both efficiency and battery longevity.
- Recharge batteries around 20–30% capacity remaining rather than fully draining them, and store partially charged batteries at 40–50% when not in use to significantly extend lifespan.
- Monitor charging times for changes, keep connectors clean, and never leave fully charged batteries on the station indefinitely, as these practices prevent premature battery failure and safety risks.
- Verify voltage and amp-hour ratings of your specific batteries before purchase, as a charging station rated for 18V batteries won’t work properly with 12V or 20V models.
What Is a Battery Charging Station for Power Tools?
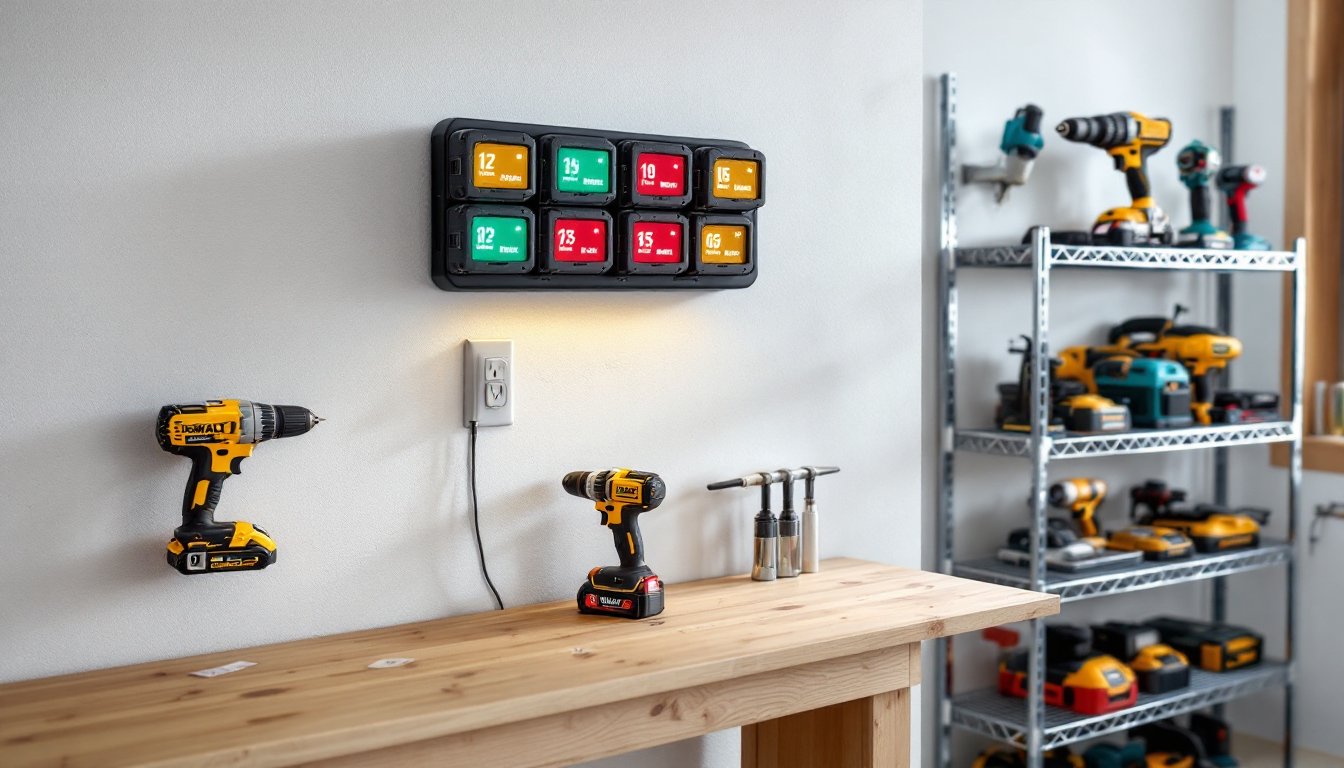
A battery charging station is a dedicated hub, usually wall-mounted or bench-top, designed to charge and store multiple tool batteries simultaneously. Unlike buying separate chargers for each tool brand or model, a quality station consolidates charging into one location and often handles multiple batteries at once.
These stations range from simple organizers that hold batteries while individual chargers sit beside them, to integrated multi-bay units with built-in charging circuits for 2–6 batteries at a time. The best ones include features like LED status indicators, smart charging technology that prevents overcharging, and fire-resistant storage compartments.
For DIYers working with a single tool brand like DeWalt or Makita, many manufacturers sell proprietary charging racks. Cordless drill, impact driver, and reciprocating saw batteries all charge on the same dock. For those mixing brands, maybe a DeWalt drill with a Milwaukee angle grinder, a universal charging station becomes invaluable.
Key Features to Look for in a Charging Station
When comparing charging stations, focus on a few critical factors that directly impact your workflow.
Charging Speed matters if you’re running jobs back-to-back. Stations with fast-charge capability (often 30–60 minutes for a standard 18V lithium battery) let you swap batteries and keep working instead of waiting. Standard chargers take 60–120 minutes. Some stations offer tiered power delivery, fast charging for urgent jobs, standard charging for overnight top-offs, which preserves battery lifespan.
Safety features are non-negotiable. Look for stations with temperature sensors, short-circuit protection, and overcharge prevention. Some models include fire-resistant plastic housings or metal cages that contain a battery if it fails. If you store multiple lithium batteries in an enclosed space, this protection isn’t paranoia, it’s essential.
Power supply and outlet placement affect usability. A station mounted in a corner of your garage is useless if the outlet is 20 feet away and you need an extension cord. Verify the voltage and amperage your station requires (typically 120V for home garage units), and ensure your shop circuits can handle it if you’re charging 4–6 batteries at once. If charging several high-amp batteries simultaneously, you may need a dedicated 15–20 amp circuit.
Durability and build quality reflect how long the station serves you. Plastic housings work fine for light home use, but workshop environments with dust, moisture, and vibration demand steel or reinforced polymer construction. Check if the charging bay connectors are spring-loaded and replaceable, these wear out after thousands of insertions.
Multi-Battery Capacity and Compatibility
The number of bays a station offers directly shapes how you work. A 2-bay charger suits someone with one or two tools. A 4-bay or 6-bay station is practical for active DIYers running mixed equipment, perhaps two drills rotating while two backup batteries charge, plus slots for specialty tools.
Compatibility determines whether you need one station or several. Proprietary systems (made by tool manufacturers for their own batteries) charge only that brand’s batteries: DeWalt racks won’t charge Milwaukee. If you own tools from multiple brands, a universal multi-chemistry charger accepts batteries with standard connector pins or USB charging ports. But, universal chargers sometimes charge slower than proprietary ones because they manage different chemistry types (lithium, nickel-cadmium, nickel-metal hydride).
Before buying, verify the exact batteries you own. Check the label for voltage (12V, 18V, 20V are common) and amp-hour rating (1.3 Ah to 10 Ah). A station rated for 18V batteries won’t work for your 12V drill. Some newer stations support a wider voltage range (12V–20V), but confirm this explicitly in the specs before purchase.
Setting Up Your Charging Station for Maximum Efficiency
Location and installation make the difference between a tool that sits forgotten and one you use daily.
Choose a spot near your main work area, but away from moisture, direct sunlight, and extreme heat. A wall-mounted station at eye level in your workshop or garage keeps batteries visible and accessible. Avoid damp basements or unheated sheds where temperature swings can stress batteries. Lithium batteries prefer 50–70°F storage temperatures: prolonged exposure above 130°F or below freezing reduces lifespan and charging efficiency.
If mounting on drywall, use drywall anchors and lag bolts, these stations can weigh 10–20 pounds when loaded with batteries. Locate the studs if possible and bolt directly to them for maximum security. Ensure the outlet is within 6 feet of the station and isn’t part of a circuit powering shop vacuums or other high-draw equipment: shared circuits cause voltage sags that slow charging.
Organize batteries by usage pattern. Keep your two most-used batteries in the fastest-charging bays: reserve slower bays or overnight chargers for backups. Label battery slots if charging multiple identical-looking units. A simple printed inventory label taped to the station prevents confusion and helps track battery health over time.
If using a bench-top unit instead of wall-mounting, place it on a stable, level surface away from tool clutter. Keep at least 6 inches of clearance on all sides for air circulation.
Battery Care and Maintenance Tips
A charging station is only as good as the batteries feeding it. Smart battery care extends runtime and life.
Avoid discharging batteries completely. Lithium batteries degrade faster if repeatedly drained to zero. Instead, recharge when the tool feels noticeably weaker, typically around 20–30% capacity remaining. This habit cuts years off the station’s useful life because you’ll need fewer replacement batteries.
Store partially charged batteries if you’re not using tools for weeks. A battery left fully charged or fully discharged while unused deteriorates faster than one sitting at 40–50% charge. Many modern chargers include a storage mode that trickle-charges to an optimal level: check your station’s manual.
Keep connectors clean. Dust and corrosion on battery pins or charging dock contacts reduce charging efficiency and can create heat buildup. Wipe battery terminals with a dry cotton cloth every few months. If corrosion appears, gently clean with a pencil eraser or fine-grit sandpaper (220–320 grit), never use solvents that might seep into the battery casing.
Monitor charging time. If a battery that normally charged in 45 minutes suddenly takes 90 minutes, the battery cell is failing and should be replaced. Catching this early prevents charger strain and potential fire risk. Most stations include LED indicators: red/orange means charging, green means done. If the light stays red beyond the expected time, stop charging and investigate.
Balance the load when charging multiple batteries. Some stations charge faster in certain slots: rotate which batteries go in which bay to even out wear across your fleet.
Common Mistakes to Avoid
Even with a solid station, common habits can undermine the setup.
Don’t leave batteries on the charger indefinitely. Many DIYers charge overnight and leave the station plugged in for days. Modern smart chargers prevent overcharging, but extended trickle-charging still stresses older battery chemistries. Once fully charged, unplug or move the battery to storage, the 5 seconds it takes saves long-term battery health.
Avoid mixing old and new batteries in the same charge cycle when possible. Older, worn batteries charge more slowly and can slightly drag down charger efficiency for paired units in dual-bay stations. Group batteries by age or charge older ones separately.
Don’t ignore heat during charging. If a battery gets noticeably warm (above 120°F), stop charging immediately. Lithium batteries should charge cool: excess heat signals a failing cell or a charger problem. Never charge a visibly swollen or damaged battery, dispose of it safely and replace it.
Resist plugging the station into an extension cord longer than 50 feet, especially if charging multiple high-amp batteries. Voltage drop over long runs reduces charging speed and increases heat risk. If your outlet is far away, consider relocating the station or installing a new circuit closer to your workspace.
Don’t assume all batteries are interchangeable within your brand. A newer 20V battery won’t work properly in a 2010-era drill designed for 18V, even if they look similar. Always verify voltage compatibility before expecting a battery to fit and charge correctly.
Conclusion
A well-chosen battery charging station transforms tool management from an afterthought into a seamless part of your workflow. By selecting a unit that matches your tool ecosystem, installing it sensibly, and treating batteries with respect, you’ll spend less time charging and more time building. The small investment pays for itself in convenience and battery longevity, two things every DIYer values.