Summer brings warmth, longer days, and peak conditions for tackling home maintenance before things deteriorate. A well-timed summer home maintenance checklist prevents expensive repairs down the road and keeps a property running smoothly when temperatures climb. The key is tackling jobs systematically, working from the roof down, addressing HVAC before the heat peaks, and staying ahead of seasonal wear. This checklist covers the outdoor and indoor priorities that protect a home’s structure, systems, and value during the season when maintenance work is most feasible.
Table of Contents
ToggleKey Takeaways
- A summer home maintenance checklist prevents costly repairs by addressing roof, gutter, and exterior issues before water damage occurs.
- Schedule your HVAC inspection and tune-up in late spring before peak demand, and replace air filters every 1-3 months to reduce energy bills and extend system life.
- Inspect and repair deck fasteners, railings, wood rot, and outdoor structures early to prevent safety hazards and structural deterioration during heavy seasonal use.
- Clean gutters twice yearly and ensure downspouts extend 4-6 feet from the foundation to prevent water damage to your home’s structure and foundation.
- Refresh exterior caulk around windows and doors, repaint faded areas, and check for wood rot or vinyl siding damage to maintain your home’s protective weather barrier.
- Test your plumbing system, water heater, and shut-off valve before peak summer usage to catch leaks early and ensure emergency water control is functional.
Prepare Your Outdoor Living Spaces
Outdoor decks, patios, and porches take a beating during summer use. Start by clearing debris from deck boards, railings, and beneath furniture, standing water and trapped leaves promote rot and mold. Check deck fasteners (screws and bolts) for looseness and replace any corroded hardware with stainless steel alternatives.
For wooden decks, inspect for soft spots by probing with a screwdriver: if the tip sinks easily, the wood is compromised and that board should be replaced. Pressure-wash the deck surface at 1,500 PSI or less (higher pressure damages wood grain) to remove algae and mildew, then apply a deck sealer or stain if the finish is fading or over a year old. Most sealers require 48 to 72 hours of dry weather to cure.
If a deck has stairs, test each step, they bear concentrated weight and wear fastest. Tighten any loose treads and check the railing for wobble: building codes typically require railings to resist 200 pounds of horizontal force. Patio pavers or concrete should be checked for frost heave (upward lifting) or settling: small variations are normal, but major cracks or trip hazards need attention.
Finally, inspect railings, gates, and any outdoor structures for rust or wood rot. Wire-brush rust, prime, and paint with rust-inhibiting paint. Loose bolts and hardware should be tightened: replace anything beyond repair.
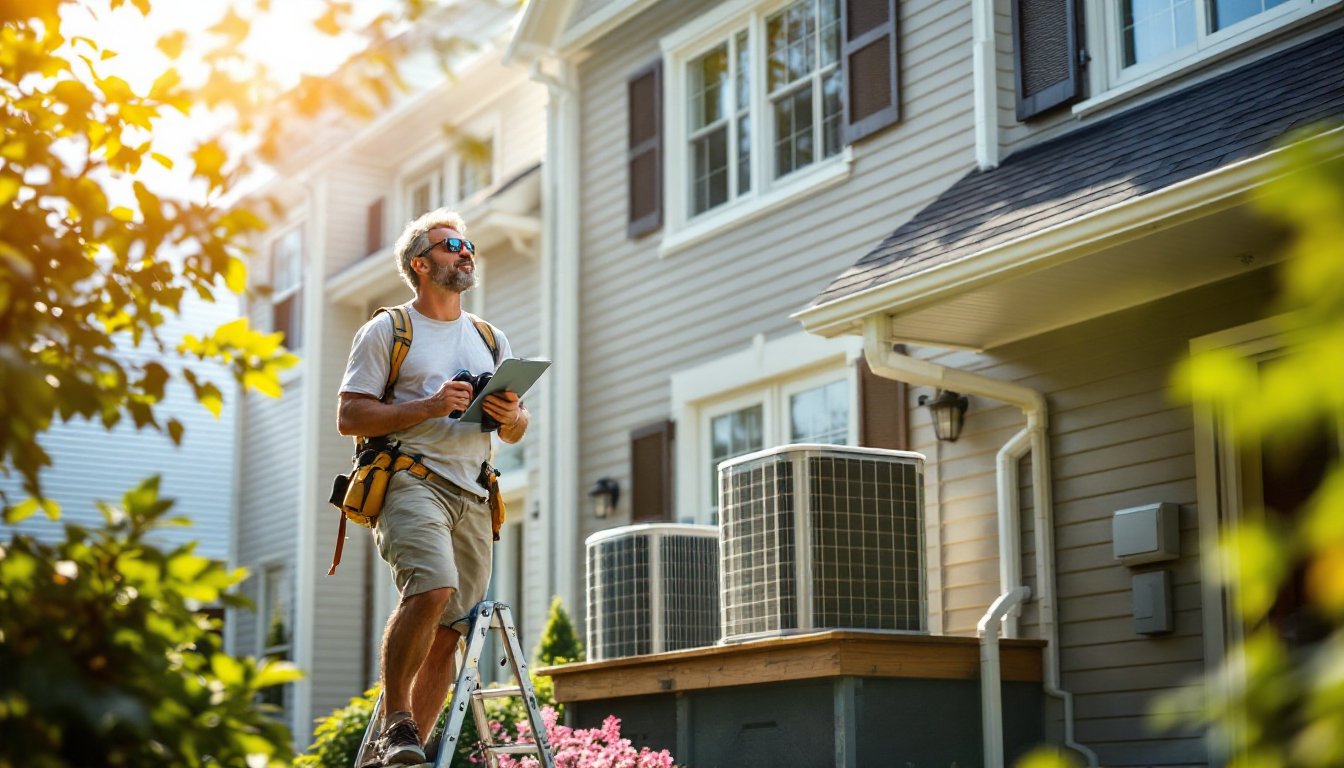
Service Your HVAC System Early
The worst time to discover an air-conditioning problem is mid-July when the thermostat hits 95°F. Schedule a professional HVAC inspection and tune-up in late spring or early summer, well before peak demand. Technicians will check refrigerant levels, test electrical connections, inspect the compressor, and ensure the system runs at full efficiency.
Between professional visits, replace the furnace filter every one to three months during cooling season. A clogged air filter forces the system to work harder, raising energy bills and shortening equipment life. Mark a calendar reminder, it’s the simplest, highest-impact maintenance task.
Check that the outdoor condenser unit has clear airflow: trim vegetation, remove leaves and debris, and ensure at least two feet of clearance on all sides. Bent fins on the condenser reduce efficiency: straighten them gently with a fin comb (a specialized tool available at hardware stores) or call a technician if fins are heavily damaged.
Verify that the condensate drain line isn’t clogged. Most systems have a small drain pipe near the indoor unit: if it’s blocked, water backs up and can damage the unit or promote mold growth. Clear blockages with a wet/dry vacuum or flush with white vinegar. Set the thermostat a few degrees higher than comfort, even a 2-degree increase saves 3 percent on cooling costs, and use a programmable or smart thermostat to automate temperature adjustments when the home is unoccupied.
Inspect and Maintain Your Roof and Gutters
Roof damage often goes unnoticed until water stains appear on ceilings. Walk the perimeter of your house with binoculars and inspect the roof from the ground: look for curled or missing shingles, dark streaks (mold or algae), and debris accumulation. If climbing onto the roof, use a properly secured ladder and wear soft-soled shoes for grip.
Missing or damaged shingles should be replaced promptly, even a small gap allows water penetration. To replace a shingle, carefully lift the edges and remove roofing nails with a pry bar, slide in the new shingle, and secure it with roofing nails and a dab of roofing cement under the seal strip. If multiple shingles or large areas are damaged, consult a roofer.
Flashing (metal strips sealing seams around chimneys, vents, and roof valleys) is critical. Inspect for gaps, rust, or separation: reseal with roofing cement where flashing meets the roof. Rust on metal flashing can be treated with a rust converter, then primed and painted.
Gutters and downspouts handle tens of thousands of gallons of water annually. Clean gutters twice per year, late spring and fall, removing leaves, twigs, and sediment by hand (wear gloves) or with a gutter scoop. Flush the gutters with a garden hose to ensure water flows freely toward downspouts. Check that downspouts extend at least 4-6 feet from the foundation to direct water away from the structure: if they’re discharging too close to the house, add an extension or splash block.
Tighten any loose gutter brackets and patch small holes with roofing cement. Sagging gutters indicate loose fasteners or structural issues: tighten or replace brackets. If gutters are cracked or corroded beyond repair, replacement is more cost-effective than patching.
Protect Your Exterior: Siding, Paint, and Caulking
Exterior paint and caulk protect siding from weather damage and moisture infiltration. Walk around the house and look for peeling paint, gaps in caulking around windows and trim, and stained or weathered areas. Paint typically lasts 5-10 years depending on climate and quality: faded paint doesn’t offer the same protective barrier as fresh coatings.
Caulk joints around windows, doors, and trim where different materials meet. Use paintable, exterior-grade caulk, typically silicone or acrylic-latex, not cheap rope caulk. Remove old, cracked caulk with a caulk removal tool or utility knife, clean the joint, and apply a continuous bead: smooth it with a wet finger or caulk tool. Allow 24 hours to cure before painting.
If wood siding shows soft spots or water stains, probe with a screwdriver. Localized rot can be cut out and patched with wood filler or epoxy: widespread rot indicates structural issues and requires professional assessment. Paint bare wood and stained areas promptly, exposed wood absorbs moisture and deteriorates quickly.
For vinyl siding, inspect for cracks, dents, or loose panels. Minor cracks can be sealed with caulk: dented panels are cosmetic unless they trap water. Loose panels can usually be slid back into place: if panels are cracked beyond repair, they can be replaced individually without affecting neighboring sections. Vinyl is low-maintenance but benefits from occasional cleaning with a soft brush and mild detergent.
Brick and stone should be inspected for crumbling mortar between joints. Crumbling mortar allows water penetration and weakens the structure. Small areas can be repointed (a skilled repair) or addressed by a mason if damage is extensive.
Check Your Plumbing and Water Systems
Summer brings increased water use for lawn irrigation, outdoor showers, and full households. Check outdoor spigots for leaks and corrosion: replace damaged washers or spigots. Inspect any exposed pipes beneath sinks or in basements for leaks, mineral deposits, or corrosion. Corroded copper pipes or discolored water may indicate mineral buildup or internal corrosion, have water tested if concerned about quality.
The water heater is often overlooked but critical for system longevity. Drain a few gallons from the tank to flush out sediment that reduces efficiency and can damage the heating element. Check the temperature pressure relief valve by lifting the lever briefly: water should discharge. If nothing flows, the valve may be stuck or failed, call a plumber.
Inspect visible water lines for leaks. Even small drips waste thousands of gallons annually. Check supply lines to washing machines and ice makers: if hoses are cracked or bulging, replace them. Braided steel hoses are more durable than rubber. Ensure the shut-off valve near the water meter works by turning the handle: if stiff, try WD-40: if it won’t budge, have it serviced so you can shut off water in an emergency.
If the home has a septic system, avoid putting excessive grease, paper towels, or foreign materials into drains. Septic tanks typically need pumping every 3-5 years depending on household size and tank volume. Summer is a good time to schedule an inspection and pumping if due. If using a well, have water quality tested annually for bacteria and contaminants.
Interior Summer Maintenance Tasks
Interior maintenance often takes a back seat in summer, but a few preventive tasks protect the home from hidden damage. Inspect attic spaces for signs of roof leaks, water stains on rafters, sagging insulation, or mold are red flags. Ensure attic vents aren’t blocked by insulation and that intake and exhaust vents allow air circulation: poor ventilation causes heat buildup and shortens roof life.
Check window and door seals for air leaks and water infiltration. Caulk gaps and reapply weatherstripping where needed: loose seals increase cooling costs and allow moisture inside. Test all windows and doors to ensure they open, close, and lock smoothly: lubricate stiff hinges or tracks with silicone spray.
Walk the basement or crawlspace looking for water stains, efflorescence (white mineral deposits), or active moisture. Summer rain can expose drainage issues. If standing water appears after rain, the grading or drainage system needs attention. Surface moisture on concrete can be sealed: active water intrusion requires gutters, downspouts, and grading corrections.
Check basement walls and foundation for new or expanding cracks. Hairline cracks are common and usually cosmetic, but cracks wider than 1/4 inch or ones that grow over time warrant inspection by a structural engineer. Seal cracks with concrete crack filler or caulk to prevent water infiltration.
Finally, test all smoke and carbon monoxide detectors by pressing the test button: replace batteries if needed and note expiration dates. Detectors typically last 8-10 years. A working detector can mean the difference between a contained incident and tragedy.
Conclusion
A comprehensive summer home maintenance checklist protects a home’s structure and systems when conditions are ideal for repair work. Prioritize roof, gutter, and exterior inspections first, these prevent costly water damage. Schedule HVAC service early, refresh caulking and paint, and address plumbing issues promptly. Interior checks round out the picture, catching problems before they spread. Consistent summer maintenance extends equipment life, reduces emergency repairs, and keeps a home comfortable and safe through the season and beyond.