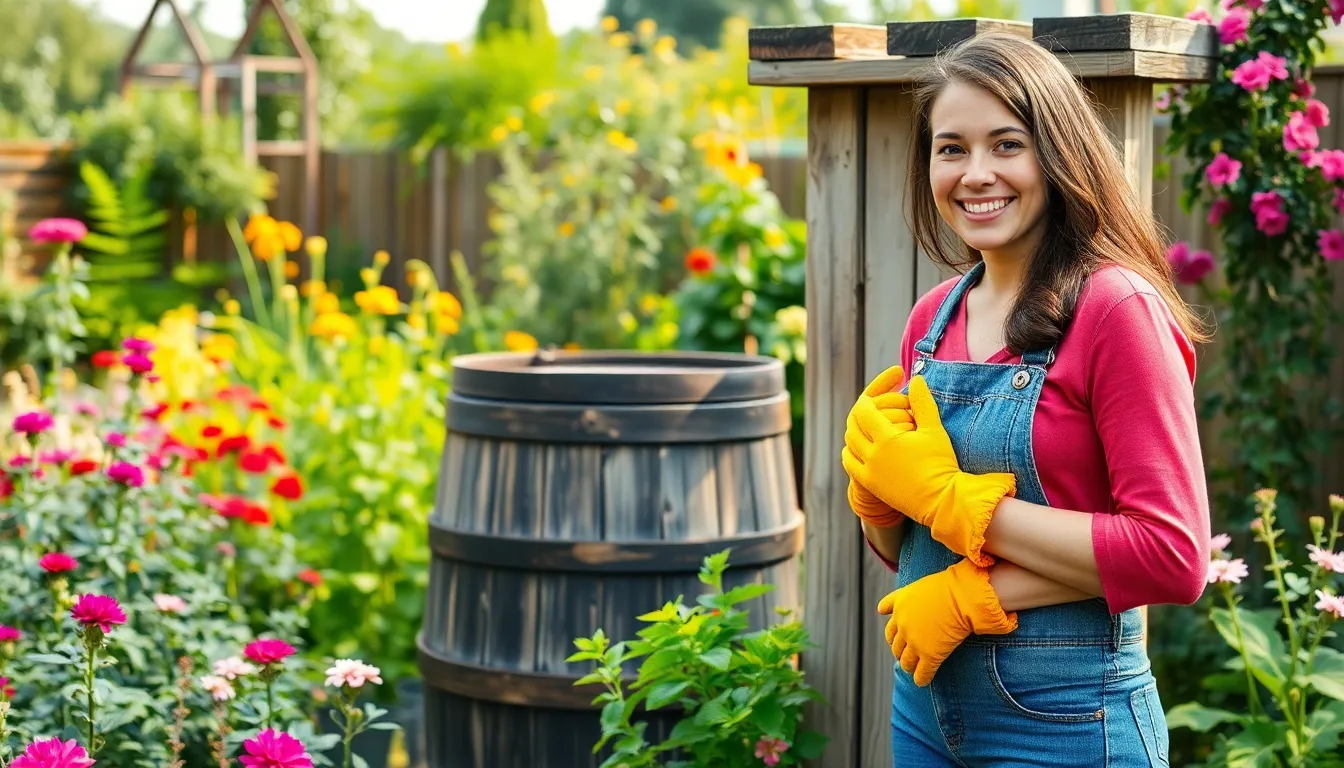
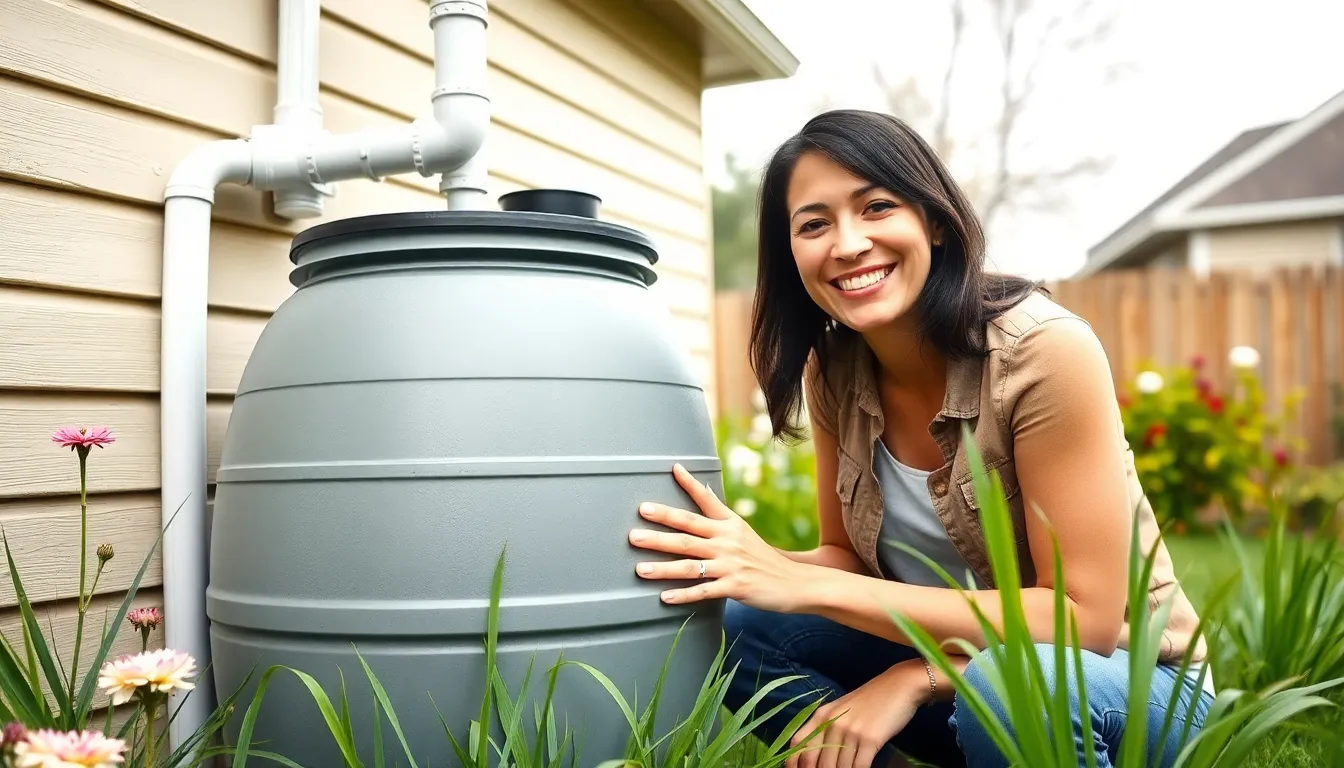
As water conservation becomes increasingly vital, rain barrels offer a simple yet effective solution for homeowners looking to reduce their environmental footprint. By capturing rainwater from rooftops, these barrels provide a sustainable source of irrigation for gardens and landscapes. Installing a rain barrel not only helps save on water bills but also supports local ecosystems by managing stormwater runoff.
The process of rain barrel installation is straightforward and rewarding. With a few tools and some basic knowledge, anyone can set up their own system to harness nature’s resources. Whether you’re a seasoned DIY enthusiast or just starting out, this guide will walk you through the essential steps to successfully install a rain barrel and make the most of this eco-friendly practice.
Table of Contents
ToggleOverview of Rain Barrel Installation
Rain barrel installation involves several key steps that simplify the process for any homeowner. Selecting a suitable location is essential, ensuring proximity to downspouts for efficient water collection. It’s advisable to choose a spot that receives adequate sunlight for monitoring and avoids shaded areas that may trap insects.
Preparation of the rain barrel includes cleaning and ensuring the material is free of contaminants. Barrels designed specifically for rainwater collection often include features such as spigots and screens to filter debris.
Installation steps are straightforward:
- Gather necessary tools: Essential tools include a drill, level, cutter, and garden hose.
- Attach diverters: Attach a downspout diverter to the existing downspout, directing rainwater into the barrel.
- Position the barrel: Place the barrel on a stable surface, such as concrete blocks, to create height for gravity-fed water access.
- Connect hoses: Install a hose at the spigot for easy watering or incorporate a soaker hose system for garden use.
- Secure the top: Ensure the barrel lid fits tightly to prevent mosquito breeding and debris entry.
Establishing this system not only promotes sustainable water usage but also enhances stormwater management. Proper maintenance involves regularly checking for clean screens, inspecting for leaks, and ensuring optimal water quality.
Benefits of Using Rain Barrels

Rain barrels offer significant advantages for homeowners looking to improve their sustainability practices. Utilizing rainwater for irrigation not only conserves resources but also enhances home ecosystems.
Environmental Impact
Rain barrels significantly reduce stormwater runoff, thereby decreasing soil erosion and flooding risks. Collecting rainwater helps preserve local water sources and supports groundwater recharge. Additionally, using rainwater for gardens and lawns decreases reliance on municipal water supplies, which can lower the environmental stress on treatment facilities. Capturing rain also prevents contaminants from entering waterways, promoting healthier ecosystems.
Cost Savings
Rain barrels provide substantial cost savings on water bills. Homeowners can cut their water usage for irrigation by up to 40% by using rainwater. In regions with higher water rates, these savings can translate into hundreds of dollars annually. Furthermore, many municipalities offer rebates or incentives for rain barrel installation, reducing upfront costs and encouraging efficient water usage, making this an economically wise choice for sustainable living.
Types of Rain Barrels
Different types of rain barrels cater to various needs and preferences. Homeowners can choose based on material, size, and capacity to find the best fit for their rainwater harvesting system.
Material Options
- Plastic: Lightweight, durable, and resistant to rust and corrosion, plastic rain barrels often feature UV protection, preventing degradation from sunlight.
- Wood: Offering an aesthetic appeal, wooden barrels provide a natural look. However, they require treatment to prevent rotting and may demand more maintenance.
- Metal: Typically made from galvanized steel or stainless steel, metal barrels are robust and long-lasting. They can rust if not properly coated and require careful placement to avoid leaking.
- Concrete: Known for durability, concrete barrels suit larger projects but are heavier and more complex to install. They offer stability and longevity, often used in permanent installations.
Size and Capacity
- Small (50-100 gallons): Ideal for limited space, small barrels suit urban settings where garden needs are modest. They accommodate light irrigation and help manage limited rainfall.
- Medium (100-200 gallons): Offering versatility, medium barrels serve average-sized gardens and households. These barrels manage moderate rainwater collection and provide enough capacity for efficient use.
- Large (200+ gallons): Perfect for extensive gardens or agricultural setups, large barrels support significant irrigation needs. They capture substantial rainwater and reduce dependency on municipal supplies effectively.
- Custom Options: Some manufacturers allow for customizing size and shape based on specific landscape requirements, further enhancing functionality.
Preparing for Installation
Preparation for rain barrel installation involves selecting an ideal location and gathering the necessary tools.
Choosing the Right Location
Choosing the right location for the rain barrel is crucial for effective water collection. Select a spot close to downspouts to facilitate direct rainwater flow into the barrel. Ensure the area receives adequate sunlight, which aids in keeping the water warm and reduces algae growth. Establish a level, stable surface, such as a concrete pad or gravel base, to support the barrel’s weight when full. Take care to avoid areas prone to flooding, which can affect water quality and installation stability.
Gathering Necessary Tools
Gather the necessary tools to streamline the installation process. Essential tools include:
- Drill: Needed for making holes or attaching fittings.
- Level: Ensures the barrel sits evenly to prevent overflow.
- Cutter: Useful for cutting downspouts and fitting hoses.
- Garden Hose: Ensures effective water distribution when using the rainwater.
- Wrench: Helps secure fittings and connections properly.
Having these tools on hand simplifies setup and enhances efficiency throughout the installation process.
Step-by-Step Installation Guide
Follow these steps for a successful rain barrel installation, ensuring efficient collection and management of rainwater. This guide provides detailed action points under each subheading for clarity.
Connecting to Gutters
- Select a Downspout: Choose a downspout that directs water flow towards the rain barrel. Evaluate the location for optimal drainage.
- Install a Diverter: Use a downspout diverter to redirect water from the gutter into the rain barrel. Align the diverter with the opening of the barrel.
- Cut the Downspout: Measure and cut the downspout to accommodate the diverter and the rain barrel height. Ensure a snug fit at the connection points.
- Secure Connections: Attach the diverter to the downspout using screws or brackets. Test the connection for potential leaks and adjust as necessary.
Ensuring Proper Overflow Management
- Position Overflow Outlet: Determine the overflow outlet location on the rain barrel. The outlet should be at least 2 to 3 inches below the top to prevent water overflow.
- Install an Overflow Hose: Connect an overflow hose to the outlet. Direct the hose away from the foundation to prevent flooding near the home.
- Slope the Hose: Ensure the overflow hose maintains a downward slope to encourage efficient drainage. This setup prevents stagnation and water accumulation.
- Consider Additional Features: For added protection against overflow, consider installing an overflow tank or connecting the overflow to a nearby garden bed for irrigation.
These steps ensure a functional rain barrel installation that optimizes water collection, promotes efficient drainage, and prevents potential water damage.
Maintenance Tips for Rain Barrels
Regular maintenance ensures rain barrels function efficiently and prolong their lifespan. Homeowners should follow specific practices to keep their systems in top condition.
Cleaning and Inspection
Cleaning and inspecting rain barrels prevent algae growth and ensure water quality. Homeowners should:
- Rinse barrels: Use a garden hose to remove debris and sediment at least twice a year.
- Check screens: Inspect inlet screens for clogs and clean them as needed to prevent mosquitoes and debris from entering the barrel.
- Inspect for leaks: Examine seals, hoses, and connections for any leaks or wear, replacing damaged parts promptly.
- Remove organic material: Eliminate leaves and other organic matter from the top to reduce contamination risks.
- Evaluate water quality: Regularly check the smell and clarity of collected water to determine if further cleaning is necessary.
Winterizing Your Rain Barrel
- Empty the barrel: Drain all collected water to avoid freezing, which can crack the barrel.
- Clean thoroughly: Rinse and scrub the inside of the barrel before storage to prevent algae and bacteria buildup.
- Disconnect components: Remove hoses and diverters, ensuring they dry completely to prevent mildew.
- Store in a sheltered location: Place the rain barrel in an insulated environment or indoors, minimizing exposure to freezing temperatures.
- Cover the barrel: If outdoor storage is necessary, cover it with a tarp or plastic to keep out moisture and debris, but allow for ventilation to prevent mold growth.
Installing a rain barrel is a practical step toward sustainable living. By capturing rainwater, homeowners can significantly reduce their environmental footprint while enjoying the benefits of lower water bills. The straightforward installation process makes it accessible for anyone, regardless of DIY skills.
With proper maintenance and care, a rain barrel can provide a reliable source of irrigation for gardens and landscapes. Choosing the right type and size ensures that the system meets individual needs. Embracing this eco-friendly solution not only conserves water but also contributes to better stormwater management and local ecosystem health.


